Google has information about my activities since 2009.
What I plan to do is to review it again to see if I can find some insights. And I will try to avoid looking for any new information, I think the second half of the life should be to reflect about the first half and carrying out the plans that I set in the beginning.
So, no more accumulation of useless information, let us create using what we have.
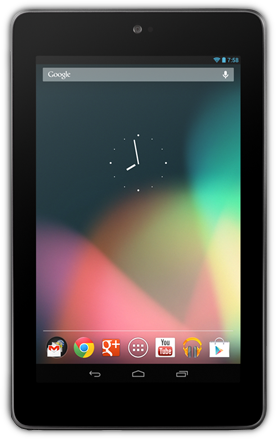
The Nexus 7 (2012) ended with a terrible update that made the tablet basically unusable. I will cover the steps I took in flashing LineageOS to my wife’s old Nexus 7.
These steps aren’t high quality instructions. I wanted to capture my general steps and be able to retrace my path if needed. Feel free to ask any questions.
My first step was to realize that I actually had the 2012 version of the device instead of the 2013 one. The 2012 one is lacking a rear facing camera, so that’s how you can tell them apart.
Device codenames
These are the codenames used to refer to the devices. This will be helpful if you need to Google search for anything.
Nexus 7 (2013) — Flo
Nexus 7 (2012) — Grouper
Key concepts
Bootloader — Responsible for starting the device
Recovery — A primitive recovery console for your device
ROM — The main system software, which is not modifiable
Verify that your PC can find the device by typing: fastboot devices
Flash the custom recovery by typing: fastboot flash recovery twrp-*-grouper.img
Reboot into bootloader again, then boot into recovery. TWRP should launch. If it doesn’t you may have the wrong TWRP image for your device. I did this using the flo version myself. You just have to re-flash the right image again.
Finding and downloading a ROM
There aren’t any officially supported ROMs at this time (Feb. 2019), and I doubt there’ll ever be one at this point.